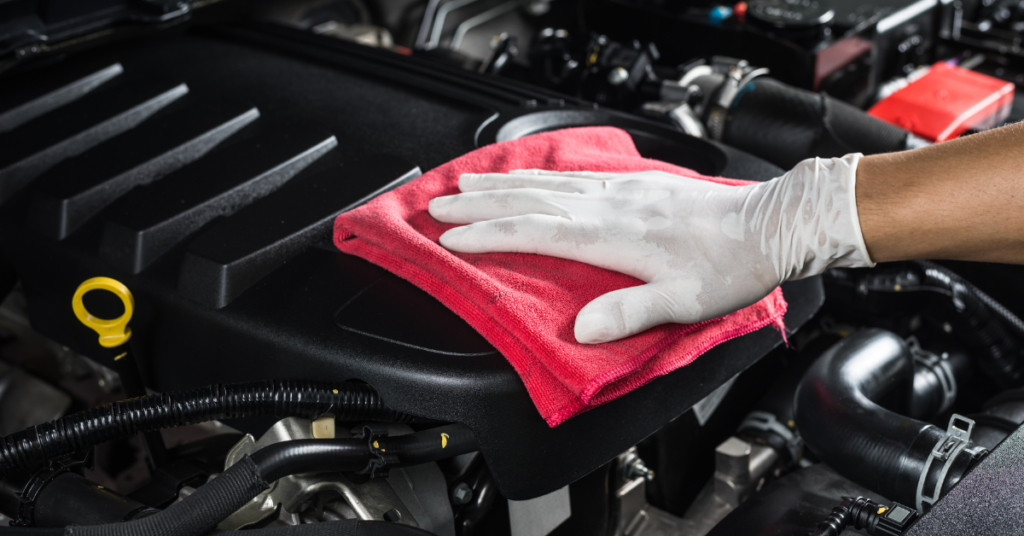
If you’re passionate about keeping your car looking its best, it’s time to take your detailing skills to the next level by learning how to clean and detail your engine bay. An immaculate engine bay not only enhances your car’s appearance but also helps in identifying potential issues and maintaining optimal performance. In this step-by-step guide, we’ll walk you through the process of engine bay detailing with safety and effectiveness in mind.
Please note: Engine bay detailing involves working around electrical components and moving parts. Always exercise caution and consult your vehicle owner’s manual for specific warnings and recommendations.
Step 1: Gather Your Tools and Supplies
To get started with engine bay detailing, you’ll need the following items:
- Engine degreaser
- A soft-bristle brush
- A detailing brush
- Microfiber towels
- A low-pressure water source, such as a garden hose with a spray nozzle
- Protective gloves and eyewear
- Plastic bags or plastic wrap
- Engine dressing (optional)
Step 2: Prepare Your Engine Bay for Cleaning
Before you begin, ensure that your engine is cool to the touch. Next, disconnect your car’s battery and cover any exposed electrical components, such as the alternator and fuse box, with plastic bags or plastic wrap to protect them from water damage.
Step 3: Apply Engine Degreaser
Put on your protective gloves and eyewear, then spray the engine degreaser generously over the entire engine bay. Be sure to follow the degreaser’s instructions for proper usage and dwell time. Allow the degreaser to break down the grime and grease for a few minutes, but don’t let it dry on the surface.
Step 4: Scrub and Agitate the Grime
Using your soft-bristle brush, gently scrub the larger surfaces of your engine bay, such as the valve cover and air intake. For tighter spaces and intricate components, switch to your detailing brush. Be thorough and patient, as some areas may require extra attention to remove stubborn grime.
Step 5: Rinse and Dry
Once you’ve loosened the dirt and grime, use your low-pressure water source to rinse the engine bay thoroughly. Be cautious to avoid spraying water directly into electrical components or sensitive areas. After rinsing, use your microfiber towels to dry the engine bay, absorbing excess water to prevent any potential damage.
Step 6: Apply Engine Dressing (Optional)
If you want to give your engine bay a showroom-worthy shine, apply an engine dressing to the plastic and rubber components. This will restore their original luster and protect them from the elements. Be sure to follow the product’s instructions for proper application.
Step 7: Reconnect the Battery and Remove Protective Coverings
Once everything is dry and dressed, carefully remove the plastic bags or plastic wrap from the electrical components, and reconnect your car’s battery. Start your engine and let it run for a few minutes to ensure everything is functioning correctly.
Congratulations! You’ve successfully detailed your engine bay. To keep it looking fresh and clean, consider incorporating engine bay detailing into your regular car maintenance routine.
For more car detailing tips and tricks, check out our article on Car Detailing Tips and Tricks.
