
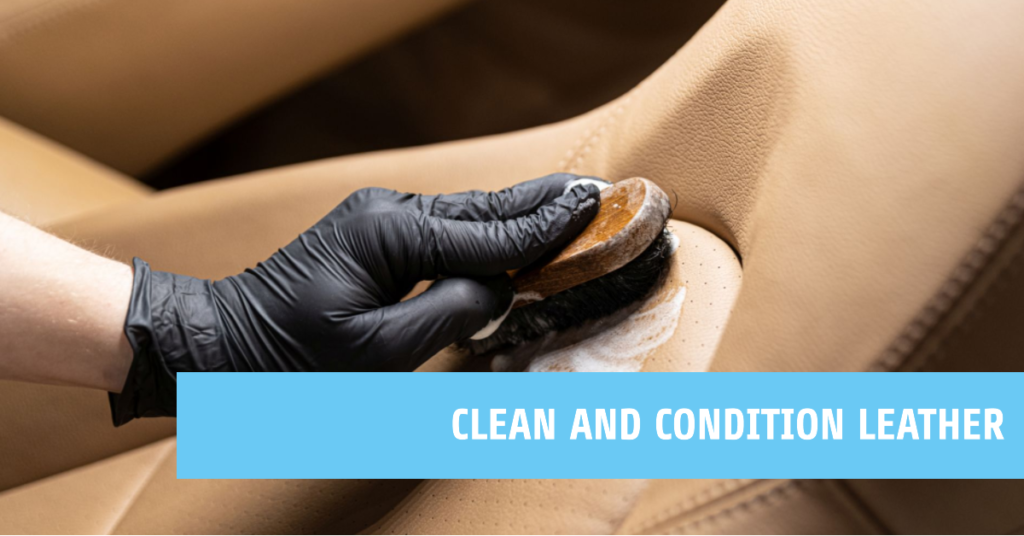
Leather upholstery adds a touch of luxury to your car’s interior, but it also requires special care to keep it looking and feeling its best. In this guide, we’ll show you how to clean and condition your car’s leather seats, ensuring they remain soft, supple, and protected from wear and tear.
Step 1: Gather Your Supplies
The following items are recommended:
- Vacuum cleaner with attachments
- Microfiber towels
- Leather cleaner (ph-balanced and specifically designed for automotive use)
- Soft-bristle brush or horsehair brush
- Leather conditioner
- Optional: leather protectant
Step 2: Vacuum the Seats
Start by vacuuming your car’s leather seats to remove any loose dirt and debris. Use your vacuum cleaner’s brush attachment and be gentle to avoid scratching the leather. Make sure to get into seams, crevices, and tight spaces where dirt can accumulate.
Step 3: Apply the Leather Cleaner
Dampen a microfiber towel with the leather cleaner and gently wipe the surface of the leather seats. Avoid using too much cleaner, as it can be difficult to remove and may leave residue. Always use a cleaner specifically designed for automotive leather, as household cleaners may contain harsh chemicals that can damage the leather
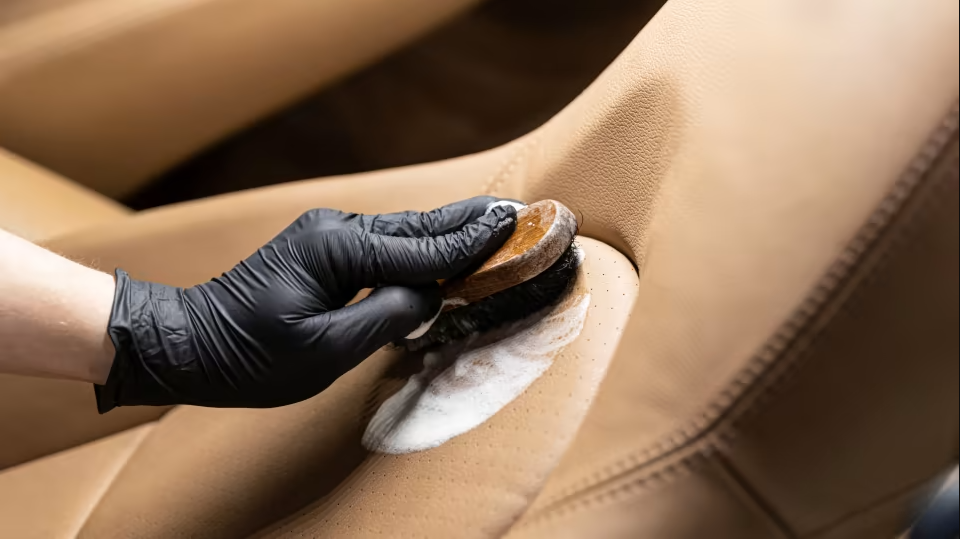
For stubborn dirt and stains, use a soft-bristle brush or horsehair brush to gently agitate the cleaner on the leather surface. Be cautious not to press too hard or scrub, as this can damage the leather’s finish.
Step 4: Remove the Cleaner
Once the leather has been cleaned, use a clean, damp microfiber towel to remove any remaining cleaner from the seats. Be sure to rinse your towel frequently in clean water to avoid redepositing dirt onto the leather.
Step 5: Dry the Seats
Gently dry the leather seats with a clean, dry microfiber towel. Make sure the leather is completely dry before moving on to the next step, as applying conditioner to damp leather can cause uneven absorption.
Step 6: Apply the Leather Conditioner
Apply the leather conditioner to a clean microfiber towel and gently massage it into the leather surface in a circular motion. Follow the manufacturer’s instructions regarding the amount of conditioner to use and the recommended waiting time before buffing.
It’s essential to use a high-quality leather conditioner specifically designed for automotive use, as it will help to maintain the leather’s suppleness and protect it from wear, cracking, and fading.
Step 7: Buff the Seats
After allowing the conditioner to absorb into the leather for the recommended amount of time, use a clean, dry microfiber towel to buff the seats, removing any excess conditioner and creating a uniform finish.
Step 8: Optional – Apply a Leather Protectant
For added protection against spills, stains, and UV damage, consider applying a leather protectant according to the manufacturer’s instructions. This step is optional but can help prolong the life of your leather seats.
Congratulations! Your car’s leather seats are now clean, conditioned, and protected, ensuring a luxurious and comfortable driving experience.
For more car detailing tips and techniques, be sure to check out our guide on How to Clean Your Car’s Dashboard and Console to keep your car’s interior looking sharp from top to bottom! And don’t forget to explore How to Clean and Protect Your Car’s Fabric Seats if you have a mix of leather and fabric