
Over time, your car’s headlights can become cloudy or yellowed due to oxidation, reducing their effectiveness and compromising your visibility on the road. Restoring your car’s headlights can not only improve their appearance but also enhance their performance, ensuring safer driving conditions. In this article, we’ll guide you through the process of restoring your car’s headlights using a simple, step-by-step approach.
Step 1: Gather Your Supplies
Before you begin, make sure you have the following items on hand:
- Headlight restoration kit (containing various grits of sandpaper, polishing compound, and a UV protective coating)
- Masking tape
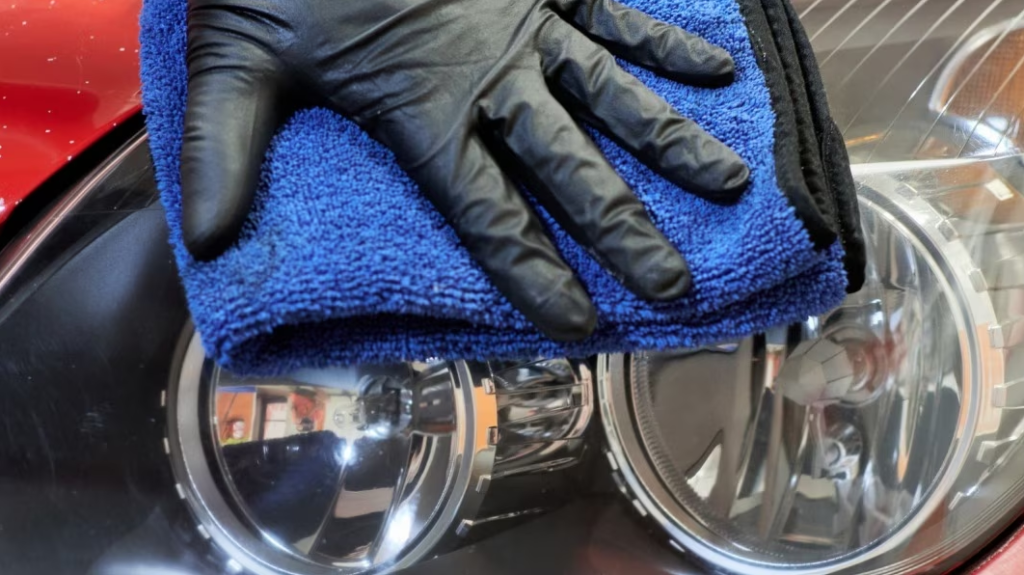
- Clean microfiber towels
- A spray bottle filled with water
- A handheld or electric drill (optional, for use with drill attachments)
Step 2: Clean the Headlights
Thoroughly clean the headlights with soap and water to remove dirt, bugs, and debris. Dry the headlights with a clean microfiber towel.
Step 3: Protect the Surrounding Area
Using masking tape, cover the surrounding painted areas and trim near the headlights. This will help prevent accidental scratches or damage during the restoration process.
Step 4: Wet Sanding
Wet sanding is the process of using progressively finer grits of sandpaper to remove the oxidized layer from the headlight’s surface. Start with the lowest grit sandpaper provided in your headlight restoration kit.
- Wet the sandpaper in the spray bottle filled with water.
- Sand the headlight surface using horizontal strokes, keeping the sandpaper wet throughout the process. Apply even pressure, but be careful not to press too hard.
- Wipe the headlight with a damp microfiber towel to remove residue.
- Repeat the process with the next finer grit sandpaper, this time using vertical strokes. Remember to keep the sandpaper wet and wipe the headlight clean between each grit change.
Continue this process until you’ve used the finest grit sandpaper included in your kit. The headlight should appear uniformly hazy at this point.
Step 5: Polishing
Apply the polishing compound provided in your restoration kit to a clean microfiber towel or the polishing pad attachment for your drill (if using a drill).
- If using a towel, rub the compound onto the headlight using circular motions until the haze is removed, and the headlight appears clear.
- If using a drill, apply the compound to the polishing pad and polish the headlight at a low speed, gradually increasing the speed as needed. Be cautious not to apply too much pressure or remain in one spot for too long, as this can cause damage to the headlight.
Wipe the headlight clean with a microfiber towel to remove any remaining polishing compound residue.
Step 6: Apply the UV Protective Coating
Once the headlight is polished and clear, apply the UV protective coating included in your kit to a clean microfiber towel or applicator pad. Follow the manufacturer’s instructions for the proper application method and drying time.
This protective coating helps to prevent future oxidation and yellowing, ensuring your headlights remain clear and bright.
Step 7: Remove the Masking Tape
After the UV protective coating has dried, carefully remove the masking tape from around the headlights.
Congratulations! Your car’s headlights should now be restored to their original clarity, greatly improving both their appearance and performance. For more car detailing tips, check out our articles on How to Wash Your Car Like a Pro and Car Detailing Tools and Products: What You Need.