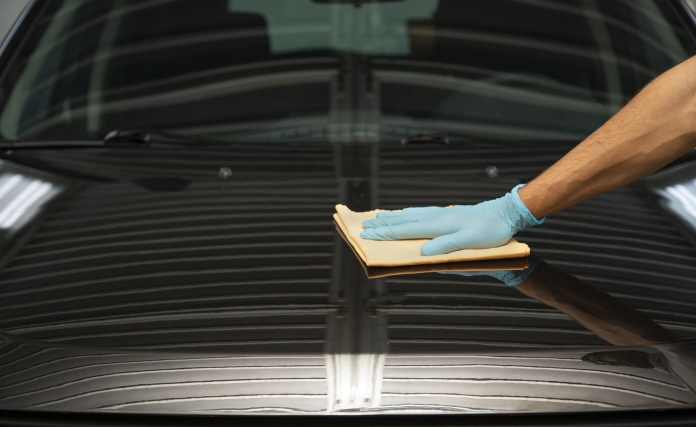
Waxing your car is an essential step in the car detailing process, as it adds a protective layer to your vehicle’s paint and keeps it looking shiny and new. In this article, we’ll guide you through the steps to properly wax your car for long-lasting protection and a brilliant shine.
Step 1: Prepare Your Car for Waxing
Before you wax your car, it’s crucial to ensure the surface is clean and free of contaminants.
- Wash Your Car: Give your car a thorough wash to remove dirt, grime, and other debris. If you need guidance on proper car washing techniques, refer to our article How to Wash Your Car Like a Pro.
- Dry Your Car: Use a microfiber towel or chamois to dry your car completely, as any remaining water can interfere with the wax application.
- Clay Bar Your Car (optional): If your car’s paint feels rough or has embedded contaminants, using a clay bar can help remove these impurities and create a smooth surface for waxing. Check out our Car Detailing Tips and Tricks article for more information on using a clay bar.
Step 2: Choose the Right Wax
There are several types of car waxes, each with its own advantages:
- Paste Wax: Offers long-lasting protection and high shine but requires more effort to apply. Recommended: Meguiar’s Gold Class Carnauba Plus Wax.
- Liquid Wax: Provides a balance between shine, protection, and ease of use. Suitable for most car owners. Recommended: Chemical Guys Butter Wet Wax.
- Spray Wax: Easiest and quickest to apply, perfect for touch-ups or those short on time. Offers less protection and shine. Recommended: Optimum Car Wax.
- Synthetic Wax: Made from synthetic polymers, provides extended protection against UV rays and contaminants. Great for long-lasting protection. Recommended: CarGuys Hybrid Wax Sealant.
Consider factors like protection, shine, ease of application, and climate when choosing a wax. Harsh weather conditions may call for a durable synthetic wax, while milder climates might benefit from traditional carnauba wax.
Step 3: Apply the Wax

- Work in a Shaded Area: Waxing your car in direct sunlight can cause the wax to dry too quickly, making it difficult to buff off. Find a shaded area or work in a garage for the best results.
- Apply the Wax in Small Sections: Work on one section of your car at a time, applying the wax in a thin, even layer. Use a foam applicator pad or a microfiber cloth to spread the wax on the paint in a circular motion.
- Allow the Wax to Haze: After applying the wax, let it dry to a haze. The drying time varies depending on the wax type and manufacturer’s instructions, so refer to the product label for specific guidance.
Step 4: Buff Off the Wax
- Use a Clean Microfiber Towel: Once the wax has hazed, use a clean, dry microfiber towel to buff off the wax. Use a circular motion and light pressure to remove the wax and reveal the shine beneath.
- Turn the Towel Frequently: As you buff off the wax, the towel will accumulate residue. Turn the towel frequently to ensure you’re always using a clean section to avoid scratching the paint.
Step 5: Inspect Your Work
After buffing off the wax, inspect your car to ensure there are no remaining wax residues or streaks. If necessary, use a clean microfiber towel to remove any leftover residue.
By following these steps, you’ll achieve a long-lasting protection and shine for your car’s paint. For more information on maintaining your vehicle’s appearance, explore our other articles, such as How to Clean and Protect Your Car’s Fabric Seats and How to Restore Your Car’s Headlights.
